How to Register an Apple ID
1. Create an Apple ID
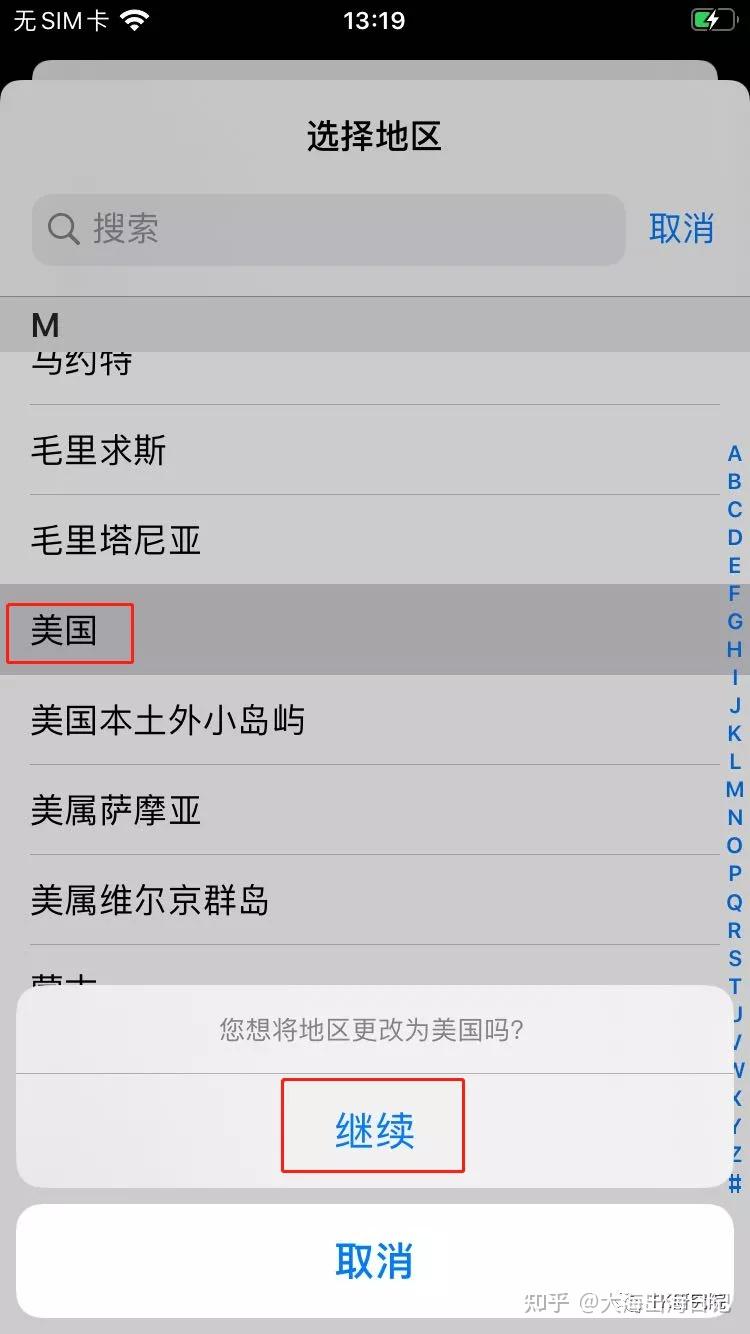
If you are using an iPhone or iPad, simply go to "Settings" > "iTunes & App Store" > "Create Apple ID" and follow the instructions to fill in your personal information and create a password. If you are using a computer, go to the Apple ID account page and click "Create Your Apple ID". Make sure to choose a strong password and keep it safe.
After creating your Apple ID, you can use it to sign in to all Apple services, including App Store, iCloud, iMessage, and more.
2. Verify Your Apple ID
Once you have created your Apple ID, you need to verify it to ensure that the account is secure and belongs to you. Go to the email account you used to sign up for Apple ID, find the verification email Apple sent you, and follow the instructions to verify your account.
Note that if you did not receive the verification email, you can go to the Apple ID website and click "Resend Email" to receive another verification email.
3. Add Payment Information
Before you can make any purchases on App Store or iTunes, you need to add payment information to your Apple ID account. This can be done by going to "Settings" > "iTunes & App Store" on your iPhone or iPad, or by signing in to your Apple ID account on a computer and clicking "Payment & Shipping". You can choose to use a credit card, debit card, or PayPal account to make purchases.
If you don't want to add payment information, you can still download and use free apps on App Store, but you won't be able to make any purchases.
Overall, creating an Apple ID is a simple process that allows you to access various Apple services. Just remember to keep your password safe and verify your account to ensure security.


